So, this is a project I’ve been wanting to share for a while now. I made the prototype for it on a whim several months ago and it is pretty rough, but I use it every day!

This one is made from a piece of leftover plywood (5/8″ maybe?) and, of course, leather. It is by no means a perfect circle. I don’t have a circle cutting jig, so I just traced one onto some plywood and cut it out with my jigsaw. Then I glued the leather to it, let it sit, and cut the leather to size. Then I took the whole mess over to my sander and made it look nice (heck, I like it).

Well, I took those steps and made the whole process a lot simpler. Instead of cutting out the plywood, I bought these thin, pre-cut, plywood discs that measure about 3 1/2 inches across. Compare that to the prototype, which is about an inch larger.
Materials for this project include:
- Pre-cut, plywood disc
- scrap of leather (8 oz)
- Barge glue, E-6000 or other contact cement
- X-acto knife
- Popsicle stick
- Pen or Sharpie
If you would like to skip over reading all the steps, you can just watch the video:

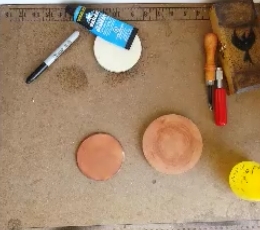
With all of my materials assembled, the first thing I did is trace around the plywood disc onto the rough side of the leather. This gives a reference for where to glue and also where the disc goes back to.

Now, liberally apply the Barge glue (or whatever contact cement you have) to both the traced area of the leather and one side of the plywood disc. You want to make sure that it covers all the way out to the edges of the traced circle and plywood disc.
Now, place the disc, glue side down, on to the glued portion of the leather and align it within the circle that was traced earlier. Once it is lined up, press down firmly. I actually like to use an old 6-volt battery as a weight. It gets used a lot in my projects… Let it sit for about 15 minutes or so.


Once the glue has set, to the point where neither piece wants to separate and the glue is no longer tacky, start cutting the leather, using the plywood disc as a guide. And after the circle is completely cut out, feel free to trim any excess clue and leather off. I also used my leather edger to add a bevel. If you want to do this, you can use your knife, just be careful.
Tip: You will get better results cutting if you use light pressure on your knife and go slow. You may have to make several passes to get through the material, but the resultsame will be worth it.


The last thing I did was burnish the edges of the leather. To do this, I simply used the handle of my edge tool. You can really use any hard, round surface, such as a screwdriver handle. Just make sure to wet the edges first, otherwise you will just end up shredding or tearing out the edge of the leather.

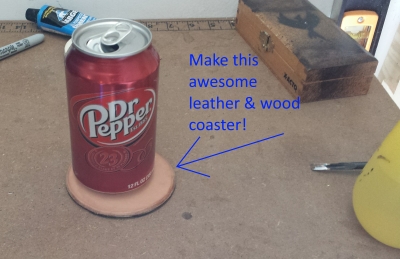
And there you have it, your own wood and leather coaster!
I hope you enjoyed this project!
Kevin